How-to guides
How to Install UHF Server on a UGREEN NAS Using Docker
Learn how to install the UHF Server on a UGREEN NAS using Docker. Our beginner-friendly guide explains Docker compose, volume mapping, and VPN protection.
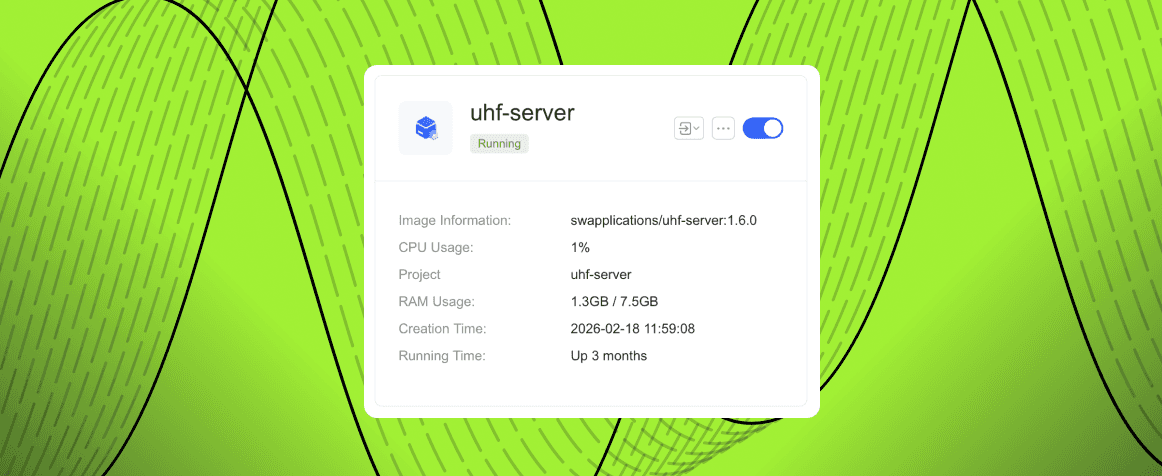
If you want to record your favorite streams or use advanced features, the UHF Server is the perfect companion to your UHF app. While we offer standalone UHF Server applications for MacOS and Windows, these versions have one major drawback: they require your computer to be powered on and awake 24/7. If you are using a laptop that frequently goes to sleep or leaves the house, your server will go offline right alongside it.
The perfect workaround? Running UHF Server on a Network Attached Storage (NAS) device, like a UGREEN NAS, using Docker.
If you aren't tech-savvy, don't worry! This guide will walk you through exactly what Docker is and how to get your UHF Server up and running in minutes.
What is Docker? (A Non-Technical Explanation)
Think of your NAS as a massive cargo ship. In the old days of computing, if you wanted to load different types of cargo (software) onto the ship, you just threw it all into the hull. Eventually, things would get tangled, break, or conflict with one another.
Docker solves this by putting every piece of software into its own standardized, isolated "shipping container."
When you run UHF Server in Docker, you are running it inside a secure, self-contained box. It has exactly what it needs to run perfectly without interfering with anything else on your NAS. To tell Docker how to build this box, we use a simple text file called a Compose configuration.
Step-by-Step Installation on UGREEN NAS
Ready to set it up? Follow these exact steps on your UGREEN NAS:
Open your NAS interface: Navigate to your UGREEN NAS web-desktop interface in your web browser.
Launch Docker: Find and click on the Docker icon.
Create a Project: In the left-hand sidebar, look for the Projects row and click Create.
Set Up the Basics: Give your project a name (e.g., UHF Server). You will also need to select a location—this is the folder on your NAS where you want to save your configuration and where the Docker container will store its data.
Add the Code: You will see a text box where you can paste code. Copy and paste the following configuration exactly as it is written:
Understanding the Code (And What You Can Change)
Don't let the code intimidate you! Here is a simple breakdown of what this file is doing and what you can customize:
image: This tells Docker to download the official UHF Server version 1.6.0.
restart: unless-stopped: This ensures that if your NAS reboots, the UHF Server will automatically turn back on.
ports: This creates a "door" to the container. By default, it uses port 8000.
volumes: This is the most important part. Docker containers are temporary; if they delete, their internal data deletes. Volumes act as a bridge, telling the container to save files to your actual NAS hard drive.
./uhf-recordings is the folder on your NAS where your recorded shows will be saved.
./uhf-db is where the server saves its internal database.
environment / PASSWORD: If you want to password-protect your server so no one else on your network can access it, you can type a password here right after the equals sign (e.g., PASSWORD=MySecret123).
Deploy: Once you are happy with the settings, click Deploy.
Accessing Your Server
Once the deployment finishes, your UHF Server is officially running!
To connect the UHF app to your new server, you will need the local IP address of your UGREEN NAS and the port you configured (default is 8000).
Any recordings you trigger from the app will now be safely stored on your NAS hard drives inside the uhf-recordings folder you created during setup.
Important Note: VPNs and Playlists
If the playlist you are using in UHF requires a VPN to work (for example, if your ISP blocks it), your NAS must be VPN-protected as well. Remember, it is the NAS that is doing the recording and fetching the streams now, not your phone or Apple TV.
If you need to route your UHF Server traffic through a VPN, the most popular way to do this in Docker is by using a companion project called Gluetun. Gluetun creates a separate Docker container that acts as a VPN client, and you can easily configure your UHF Server container to route all of its internet traffic directly through it.
Here is how you can modify your Docker Compose file to route your UHF Server traffic safely through a Gluetun VPN container.
When you route a container through Gluetun, there is a fundamental shift in how the setup works: the VPN container takes complete control of the network. Because of this, you must move the "doors" (the port settings) from the UHF Server over to Gluetun, and then tell the UHF Server to use Gluetun's network.
The Combined Docker Compose File
Here is what the updated configuration looks like when running both Gluetun and UHF Server together:
Key Changes Explained
If you look closely at the new configuration, here are the three major changes to pay attention to:
The New gluetun Service: We added a second "shipping container" specifically for your VPN. You will need to check Gluetun's official documentation to fill out the environment section with the exact credentials for your specific VPN provider (like NordVPN, Surfshark, Mullvad, etc.).
The Magic Link (network_mode: "service:gluetun"): We added this line inside the uhf-server configuration. This is the command that tells the UHF Server container, "Do not connect to the internet directly; strictly use the Gluetun container's connection."
The Port Move: Because Gluetun is now acting as the gateway to the internet for your server, the ports section (8000:8000) was completely removed from uhf-server and moved up to gluetun.
Once you deploy this combined file, your NAS will spin up both containers. The VPN will connect first, and the UHF Server will quietly route all of its downloading and recording traffic through that secure tunnel.